February is Children’s Dental Health Month, an observance meant to raise awareness about the importance of good oral health in children. In honor of the occasion, our Vancouver family dentists are talking about one of the most essential but often overlooked aspects of oral hygiene for kids: flossing!
Let’s use the example of a sippy cup with milk in it. If, after your child is done drinking, you just clean the outside of the cup, ignore the inside, and put it away, bacteria will feed on the sugars from any lingering milk. The next time you use the cup, you’ll probably be pretty grossed out by the inside of it.
Brushing removes bacteria and debris from the front and back of the teeth. Without flossing, the areas in between your child’s teeth are like the inside of the sippy cup, a place for bacteria to thrive and multiply, which can lead to cavities and even gum disease.
Now that we got that vivid analogy out of the way, let’s dive into flossing for kids. In this post, we’ll cover when to start flossing baby teeth, why it’s a key to prevention, how to do it without a struggle and more!
Should You Floss Baby Teeth?
Yes! Baby teeth do fall out eventually, but they have a number of important jobs to do while they’re in place so caring for them is critical. They help kids eat, speak and smile with confidence.
Baby teeth also save space for the adult teeth to erupt and guide dental and facial development. When they’re lost prematurely due to decay, it puts the permanent teeth below at risk and can lead to crowding and other orthodontic concerns.
To keep baby teeth healthy and disease-free, you should floss once daily in addition to brushing twice a day with a fluoride toothpaste. This is because flossing:
- Removes plaque and bacteria – According to the Canadian Dental Association, if kids don’t floss, they’re missing more than one-third of the tooth’s surface!
- Prevents cavities – Plaque buildup between teeth feeds cavity-causing bacteria, leading to decay in those hard-to-reach areas.
- Protects gums – Flossing helps prevent gingivitis, which can cause red, swollen, or bleeding gums.
- Builds healthy habits – Starting young makes flossing a lifelong habit, reducing the risk of gum disease later in life.
When to Start Flossing Baby Teeth?
You should start flossing as soon as your child has two teeth that touch, which usually happens around age 2 or 3.
Tip: Even if there’s still space between some teeth, introducing flossing early makes it easier for kids to accept it as part of their routine.
Rule of Thumb: If your child can tie their own shoelaces, they may be ready to floss on their own. Until then, parents should floss for them to ensure it’s done properly.
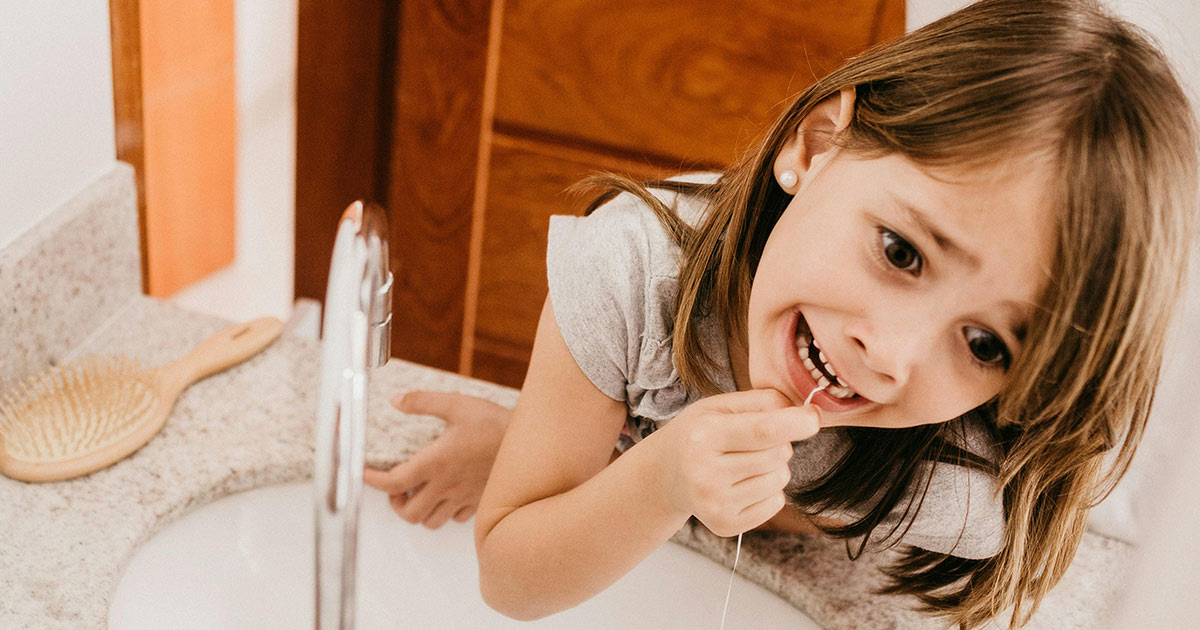
How to Floss Kids’ Teeth
Flossing kids’ teeth will get easier as you practice. Here’s a step by step of proper flossing technique:
- Take about 18 inches of dental floss and wrap most of it around one middle finger and a small amount around the other.
- Gently guide the floss between your child’s teeth using a soft, sawing motion. Be careful not to snap the floss against the gums.
- Curve the floss into a “C” shape around one tooth and slide it up and down the side of the tooth and under the gumline.
- Repeat on the other tooth before moving to the next set of teeth.
- Unroll a clean section of floss for each new tooth.
Pro Tip: Instead of standing behind your child, have them lie down with their head in your lap. This makes it easier for you to see and access all of their teeth.
How to Floss Toddlers’ Teeth (Without Tears)
Flossing a toddler’s teeth can feel impossible, but it doesn’t have to be!
While string dental floss cleans more thoroughly around the gumline and allows for a fresh section of floss for each pair of teeth, it requires both of your hands, which isn’t always ideal with younger kids.
If your toddler is resistant to flossing and/or tends to bite you while you’re doing it, try floss picks instead. With a kids’ floss pick, if they do bite down, their teeth will hit the plastic instead of your fingers.
Remember, it’s not about perfection at this age. Instead, focus on helping your child build healthy habits while eliminating as much plaque as you can.
To floss your toddler’s teeth, try this:
- Show your toddler the floss pick, explain what you’re going to do (e.g., “This is a flosser and I’m going to wiggle it between your teeth to get rid of the sugar bugs!”), and then let them touch the floss pick.
- Hold the handle of the flosser and gently glide the floss in between any two teeth. Floss up and down the side of one tooth and then the other.
- If your toddler wants to, let them try flossing a few teeth with the flosser. You can also give them a clean floss pick to hold while you’re flossing.
- When your little one is done, finish up by flossing in between all of their teeth.
Tip: If bedtime is too chaotic, floss earlier when your child is more cooperative.
Tips for Making Flossing Fun for Kids
Another way to overcome resistance, especially when flossing a toddler’s teeth, is to add some excitement to the mix.
- Sing a flossing song or play your child’s favorite song while flossing.
- Turn flossing teeth into a game — maybe the floss is a superhero fighting mouth monsters.
- Have an older sibling model flossing. Little ones love to copy!
- Create a brushing and flossing chart and let your child add a sticker each time they brush and floss their teeth.
Should You Floss Before or After Brushing? Morning or Night?
Some studies, including a 2018 study published in the Journal of Periodontology, found flossing before brushing removes more plaque and increases fluoride retention.
As for morning or night, flossing at night ensures kids have clean teeth while they’re sleeping when saliva production slows down.
However, the most important thing is to floss every day, regardless of timing or order!
The Best Kid Flossers
Regular old dental floss will do the trick but there are also tons of fun flossing tools designed for children:
- Floss Picks – These easy-to-hold, pre-threaded flossers are great for toddlers and preschoolers.
- Flavored Floss – Try flavors like strawberry, watermelon, or chocolate to turn flossing into a treat.
- Water Flossers – While water flossers don’t replace regular flossing, they can make an excellent addition to your kiddo’s oral hygiene routine by zapping even more plaque. Have kids use it in the bath or shower to avoid a mess!
How to Teach Kids to Floss on Their Own
Helping your child learn to floss their teeth independently is a gradual process. Even when they get the hang of it, you should check their flossing until about age 10. To help them fly solo:
- Let them practice with floss picks. Kids’ flossers are designed for little hands and will allow your child to get used to the flossing motion.
- Floss together. Narrate your own flossing and have your child follow along.
- Use visual aids. Show your child a chart or video on proper flossing technique.
- Ask the dentist for help. If your child struggles, ask the hygienist or dentist to give them a flossing lesson at their next checkup.
The Bottom Line
Baby teeth may be temporary but they set the foundation for healthy adult teeth. Teaching kids to floss at a young age prevents cavities, protects their gums and builds good habits that can last a lifetime.
Get Personalized Guidance from a Vancouver Dentist!
Whether you have questions about flossing technique or kids’ oral hygiene in general, Nest Dental can help! We treat patients of all ages, including children. Our team will show you how to keep your child’s smile healthy and cavity-free.
Book a dental exam for your child today!